This week I learned a new trick and am sharing my own secret to making Traditional Stuffed Cabbage Rolls, a traditional part of the Jewish Sukkot and Simchat Torah holidays! Of course, stuffed cabbage is hearty and satisfying for everyone, especially now that the cooler months of the year have arrived.
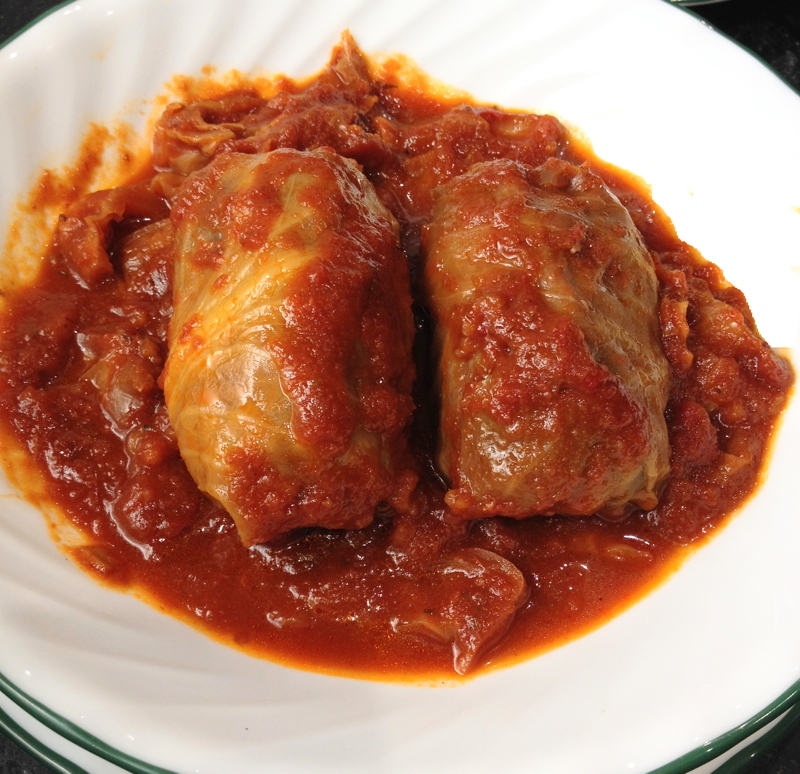
This is going to take a while, so pour yourself a cup of something warm and delicious and set a spell.
First, a confession. Mike really dislikes stuffed cabbage. Intensely. The cabbage is “slimy”. The filling falls apart and has “no texture”. The sauce is “too sweet”. What’s a girl who loves stuffed cabbage going to do?
The first thing I did was to change the variety of cabbage. I have always used regular ol’ green cabbage, just like my Mom and her mom before her. Mike got me thinking, though. There are more options available to me, and a quick scan of the cabbage section of my store’s produce department laid those options out in front of me. Savoy cabbage has those wonderfully crinkly leaves, and a really interesting texture. To see if there really was a difference, I made some cabbage rolls with green cabbage, and some with the Savoy. *Spoiler Alert*: Savoy actually retains much of that texture after cooking. Read all about the new trick I discovered for prepping the leaves below, in the Notes – it never would have occurred to me!
Google “stuffed cabbage recipe”, and I guaranty that every single one contains cooked rice in the filling. Until now. My little secret to stuffed vegetables, whether cabbage, peppers, etc.? I have always preferred using Israeli couscous (also known as pearl couscous) in my stuffed vegetables, instead of rice. I think it lends a more interesting texture than rice, and absorbs the flavors and any extra moisture from the filling as it cooks. Try it!
Now, let’s get this show on the road!
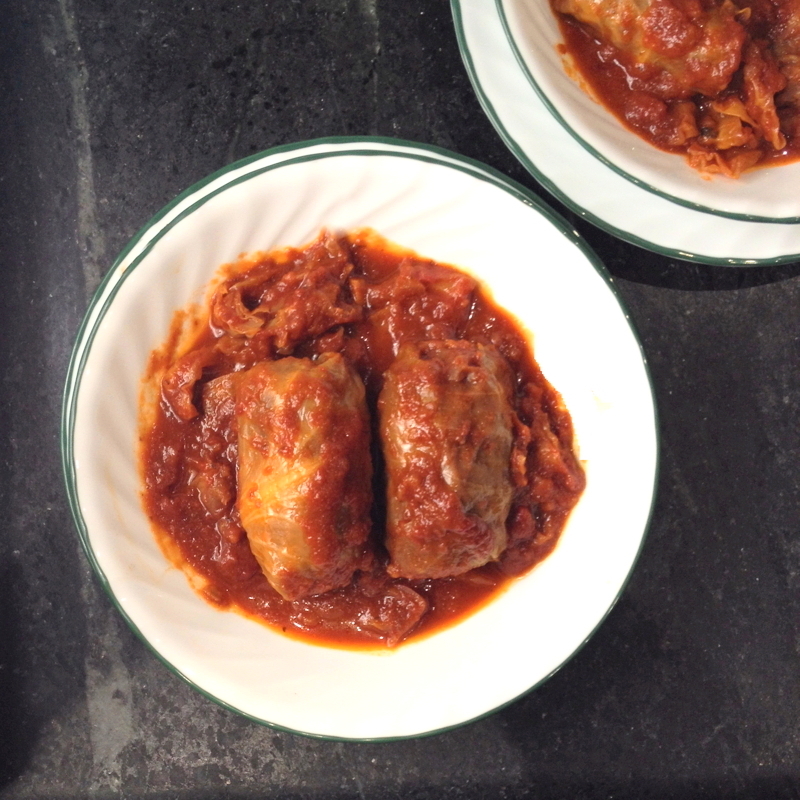
This recipe yields about 12-14 cabbage rolls.
Stuffed Cabbage Rolls
Ingredients:
- 1 large head of green cabbage or Savoy cabbage, leaves separated and softened (see *Notes, below, before starting)
For the Sauce:
- 52 ounce box Pomi* Chopped Tomatoes or equivalent in canned chopped tomatoes
- 2 Tbs tomato paste
- 2 Tbs lemon juice
- 4-6 Tbs honey (to taste; start with 4 Tbs and you can add more later)
- 1/2 tsp cinnamon
- 1 tsp garlic powder
- 1 Tbs dried chopped onion
- 1/2 tsp ground black pepper
- 2 tsps kosher salt
- 1/2 cup strong coffee (hot or cold – leftover from breakfast is fine)
- 1/2 cup raisins or dried cranberries (optional)
For the Filling:
- 2 lbs ground beef (20/80% fat content)
- 2 tsp kosher salt
- 1/2 tsp ground black pepper
- 1 cup uncooked Israeli couscous (a/k/a pearl couscous) -or- 1/2 cup uncooked long grain white rice
- 2 tsp dried chopped onion
- 1-1/2 tsps garlic powder
- 1/3 cup of above sauce, slightly cooled
Preparation:
A day in advance, soften the cabbage leaves with your preferred method. See *Notes, below.
Make the sauce: Put all of the sauce ingredients int0 a large (about 8 quart) pot, stir well, and heat over medium-high heat until bubbly. Cover the pot and reduce the heat to low. Allow to simmer, stirring occasionally.
While the sauce is simmering:
Trim the thick cabbage leaf ribs with a sharp paring knife. Right-side-out, each cabbage leaf will be cup-shaped. Now that they’re softened, you can flip them over and gently turn them inside-out, flattening the stem ends slightly with your fingers. Holding the paring knife parallel to the flattened leaf, run the knife blade along the thickest part of the rib, down to the end of the leaf, so it’s about half of its original thickness. Avoid piercing the leaves – you don’t want any leaks!
This will make the the leaf more flexible and a lot more pleasant to eat. Flip the leaf back right-side-out again. Stack the prepared leaves and set aside. Begin by preparing 12 leaves. If you still have filling left over after rolling these, you can prepare additional leaves, one at a time, as needed. If you’ve accidentally pierced or torn any leaves, set them aside – don’t discard!
Make the filling: Remove 1/3 cup of the sauce from the pot and set aside to cool a bit. (Keep that sauce simmering!)
Mix all of the filling ingredients together in a large bowl, ending with the sauce. The best utensil for this is your clean hand. Squeamish? This is why I keep a box of disposable nitrile gloves in the kitchen at all times!
Assembly: The process is just like filling and rolling an egg roll or a burrito. But neater. For each cabbage roll, lay one prepared cabbage leaf on your prep surface in front of you, facing the stem end closest to you. We’re going to call that “the bottom”.
Scoop out about 1/3 cup of the filling, and lightly roll it into a kind of short log shape with your hands. Place the meat log onto the cabbage leaf about 1/4 of the way up from the bottom.
Fold the bottom of the leaf up and over the meat log, then fold each side of the leaf in, over that – left to right and right to left. Now, roll the whole thing up in the remaining part of the leaf, tucking in the sides as you go, until you have neat, fairly tight package.
As the leaves get smaller, you may wish to reduce the amount of filling per roll, as necessary. You want the filling in each roll to be fully enclosed.
Next: Coarsely chop any remaining cabbage, including the “defective” leaves, and add them to the sauce pot.
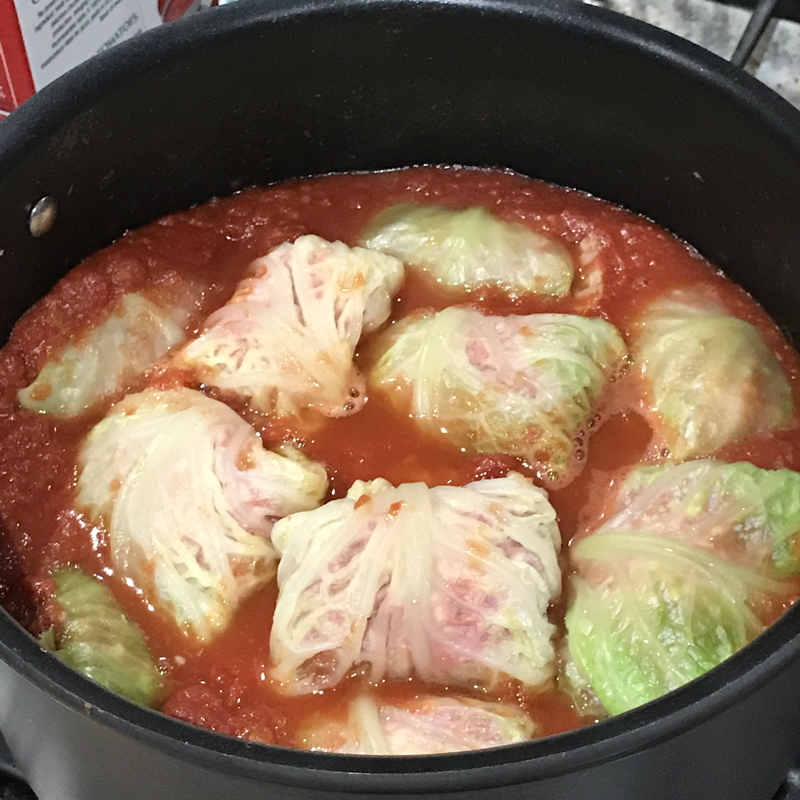
Add the cabbage rolls to the pot one at a time, seam side down. Push each one down into the sauce, gently but firmly, with your cooking spoon. When all of the rolls have been added to the pot, spoon the sauce over the top.
Cover the pot tightly and simmer on low for a minimum of 2 hours, up to 3 hours.
Serve as is, or with boiled or mashed potatoes on the side.
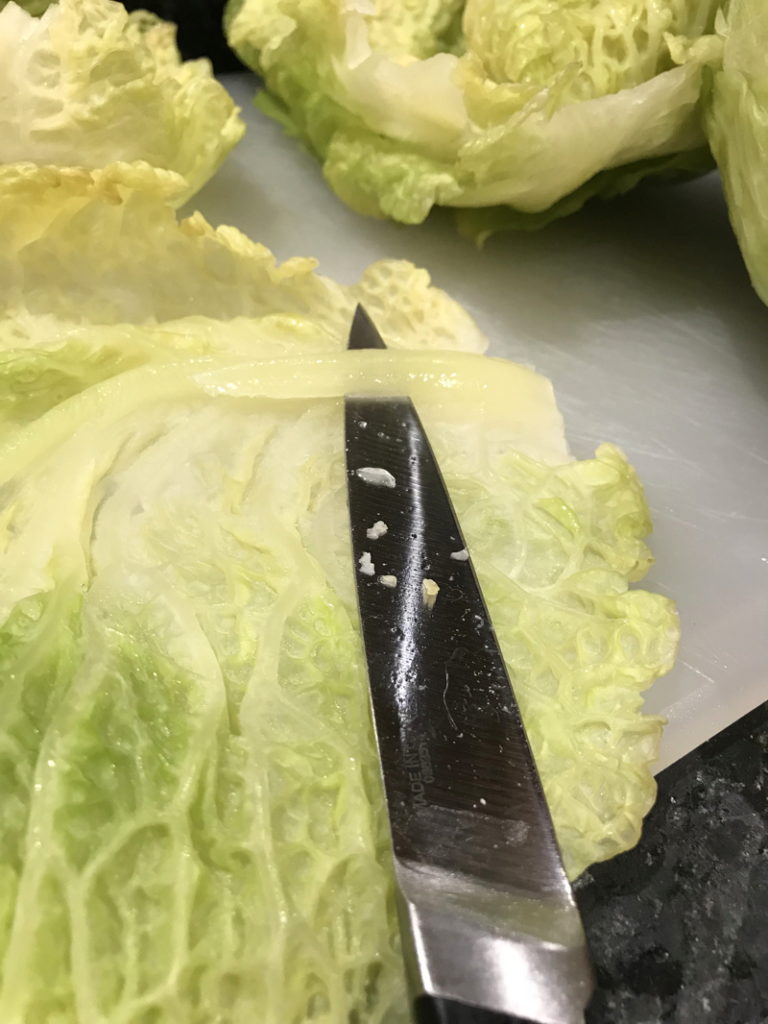
Trim down that thick cabbage rib with a sharp paring knife
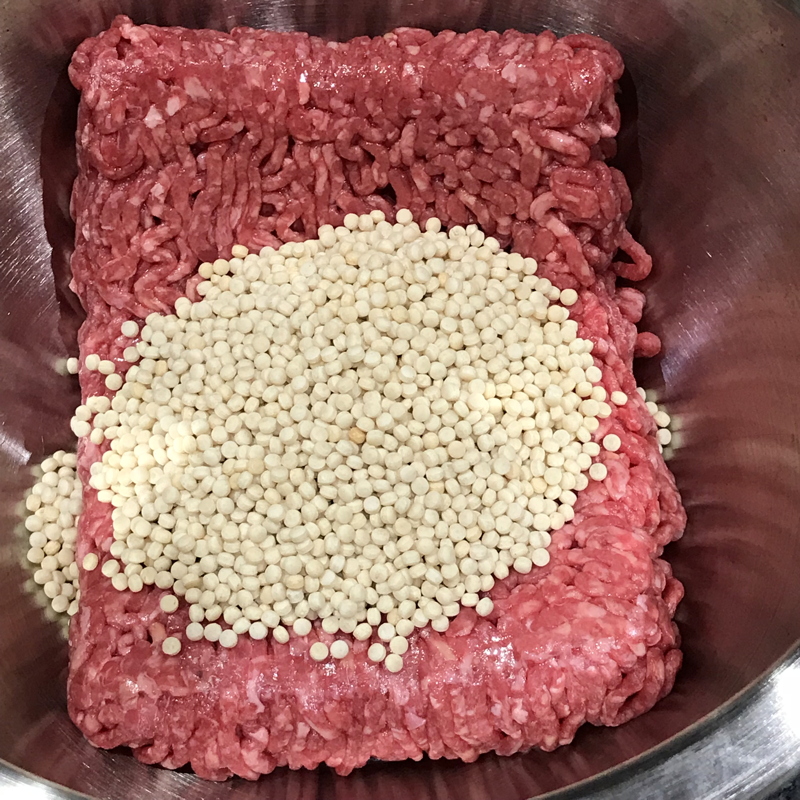
Yes, that’s Israeli (pearl) couscous, not rice!
*Notes:
- Okay, so here’s the neat trick I discovered in several places while surfing the net, the other day: When you get the cabbage home from the store, wash it, dry it, cut out the core, and freeze it whole! You want to freeze it overnight, take it out of the freezer, and let it thaw for a minimum of 5 hours. Some places said thaw for 3 hours, but that’s not nearly enough time. You will get frostbite. Okay, maybe not literally, but still.
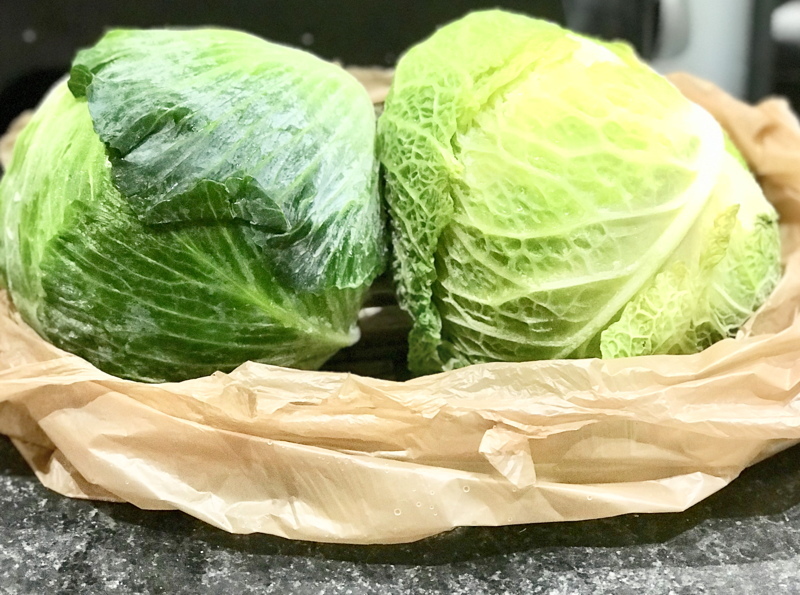
Freezing the cabbage whole will soften the leaves, making them easier to separate from the head. No steaming required! That’s common green cabbage on the left, and Savoy cabbage on the right.
I’m no food scientist, but practical knowledge says that cabbage, having a high water content, its water cells will freeze, turning into sharp ice crystals that break down the cell walls. As the heads thaw, the water being no longer confined to individual cells, escapes to flow freely throughout the leaves, making them soft and pliable. Now, you will be able to separate the cabbage leaves from the head. I found that the Savoy cabbage thawed a bit sooner than the green cabbage, and that its leaves separated easier and with fewer tearing incidents than the green cabbage, as well.
Obviously, this method takes more time (albeit, inactive time) than throwing the head of cabbage into a pot of simmering water with a steamer insert for about 5 -10 minutes, but then you won’t get a facial or scald your fingers, either. So now you have options!
- You can halve or double the recipe easily to suit your needs.
- Stuffed cabbage also freezes really well! Make sure that you use an airtight freezer-safe container, and gently lay out the cooked rolls, covering with the sauce. Don’t crowd them too tightly or mash them down – use another container, if necessary.
Yes, time and planning are necessary to make great stuffed cabbage, so don’t rush and allow yourself to enjoy the process. Get the family involved, too!
Oh, and the verdict from my husband? “I think this is the best stuffed cabbage I’ve ever had!” It doesn’t get much better than that, does it? 😉

This is not a sponsored post, but certain brand name products are noted because I think they’re unique, and I use them all the time. All opinions, recipes, text, and photographs are my own and original to RJ Flamingo and her real-life alter-ego, and are copyrighted materials, not to be reproduced in any form without express permission from the author. Links contained in this post and elsewhere on the blog may be affiliate links to my Amazon store. If you start here and buy anything on Amazon, I get a small commission. This does not increase your price, but does help me pay my web host. And buy food. Thank you for your support!
