I’ve been reading a lot about wild yeast, recently, and I’m intrigued. Okay, let me backtrack. Ever since I tasted it in its own environment, well over 20 years ago, I’ve been fascinated by San Francisco sourdough bread. Until (relatively) recently, I was under the impression that the only place you could get good sourdough bread was in San Francisco. Many years ago, I even mail-ordered SF sourdough starter, but killed it. Or something. Now, with all this “homesteading” and “urban domestication” and “local/sustainable” stuff trending (and lord knows I’m not knocking it! or mocking it, either, for that matter!), people out there are not only baking their own bread, but making their own wild yeast starters, too! And they don’t even live anywhere near San Francisco!
I admit it. I’ve been a tad uninspired in the kitchen, lately. At least when it comes to making anything other than jam. I’ve been baking lots of soft whole wheat sandwich bread for the South Miami Farmers Market – mostly as a vehicle to give out jam samples – and there are some devotees who buy the bread and rolls I make on a regular basis. And that makes me happy. It really does. So, I got to thinking. What would a South Miami wild yeast sourdough taste like? And you, out there: What would a New Hampshire wild yeast sourdough taste like? Or Miami Beach? Or Arizona? Or Virginia? Or wherever you live? Curious?
I’ve done a bunch of research and I’m pretty sure I’ve got a fair idea of how this is supposed to work. And it’s pretty easy to do. You just have to remember to feed the little brat. Much like having another pet. Except you don’t have to walk it, clean its litter box, or change the paper in it’s cage.
Wild yeast is in the air. It’s everywhere, and as many places as there are in the world, every strain is different. And with few exceptions (and no, I don’t know what they are), they should all make some pretty decent bread. All you have to do is ask them to dinner. So I’m told.
Over the next few weeks, I’m going to make my own local sourdough starter, and if it lives, I’m then going to bake with it. I’m going to post day-by-day instructions and pictures and progress (or failure) everyday over the next several weeks, and I’d like you to join me and play along. I started at 8:00 this morning. You can start now, or wait until you get home from work, or after dinner, or tomorrow morning. I’m no expert, but which of us is born one? Let’s share the learning experience!
Today is Day One
I hear that fall (or spring) is the perfect time to begin a wild yeast starter, and this is all you need to do:
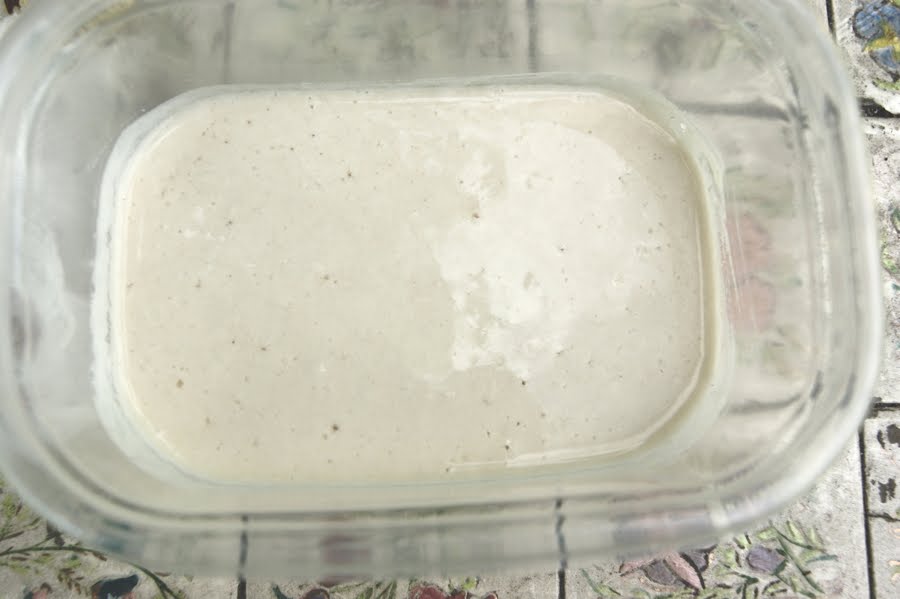
Get a glass or plastic container (pictured is a 3-cup plastic food storage container) and rinse it well in hot water. We don’t want any soap residue killing off our microbial guests. In it, mix flour (I used unbleached all purpose) and warm water (I used my tap water). I used 1/2 cup plus 1 Tbs. flour to 1/2 cup warm tap water. I’m told that wild yeast loves vitamin C, so I added 1/8 tsp. of bottled lemon juice. Mix it up until the mixture is nice and smooth – you want it to be the consistency of thick pancake batter.
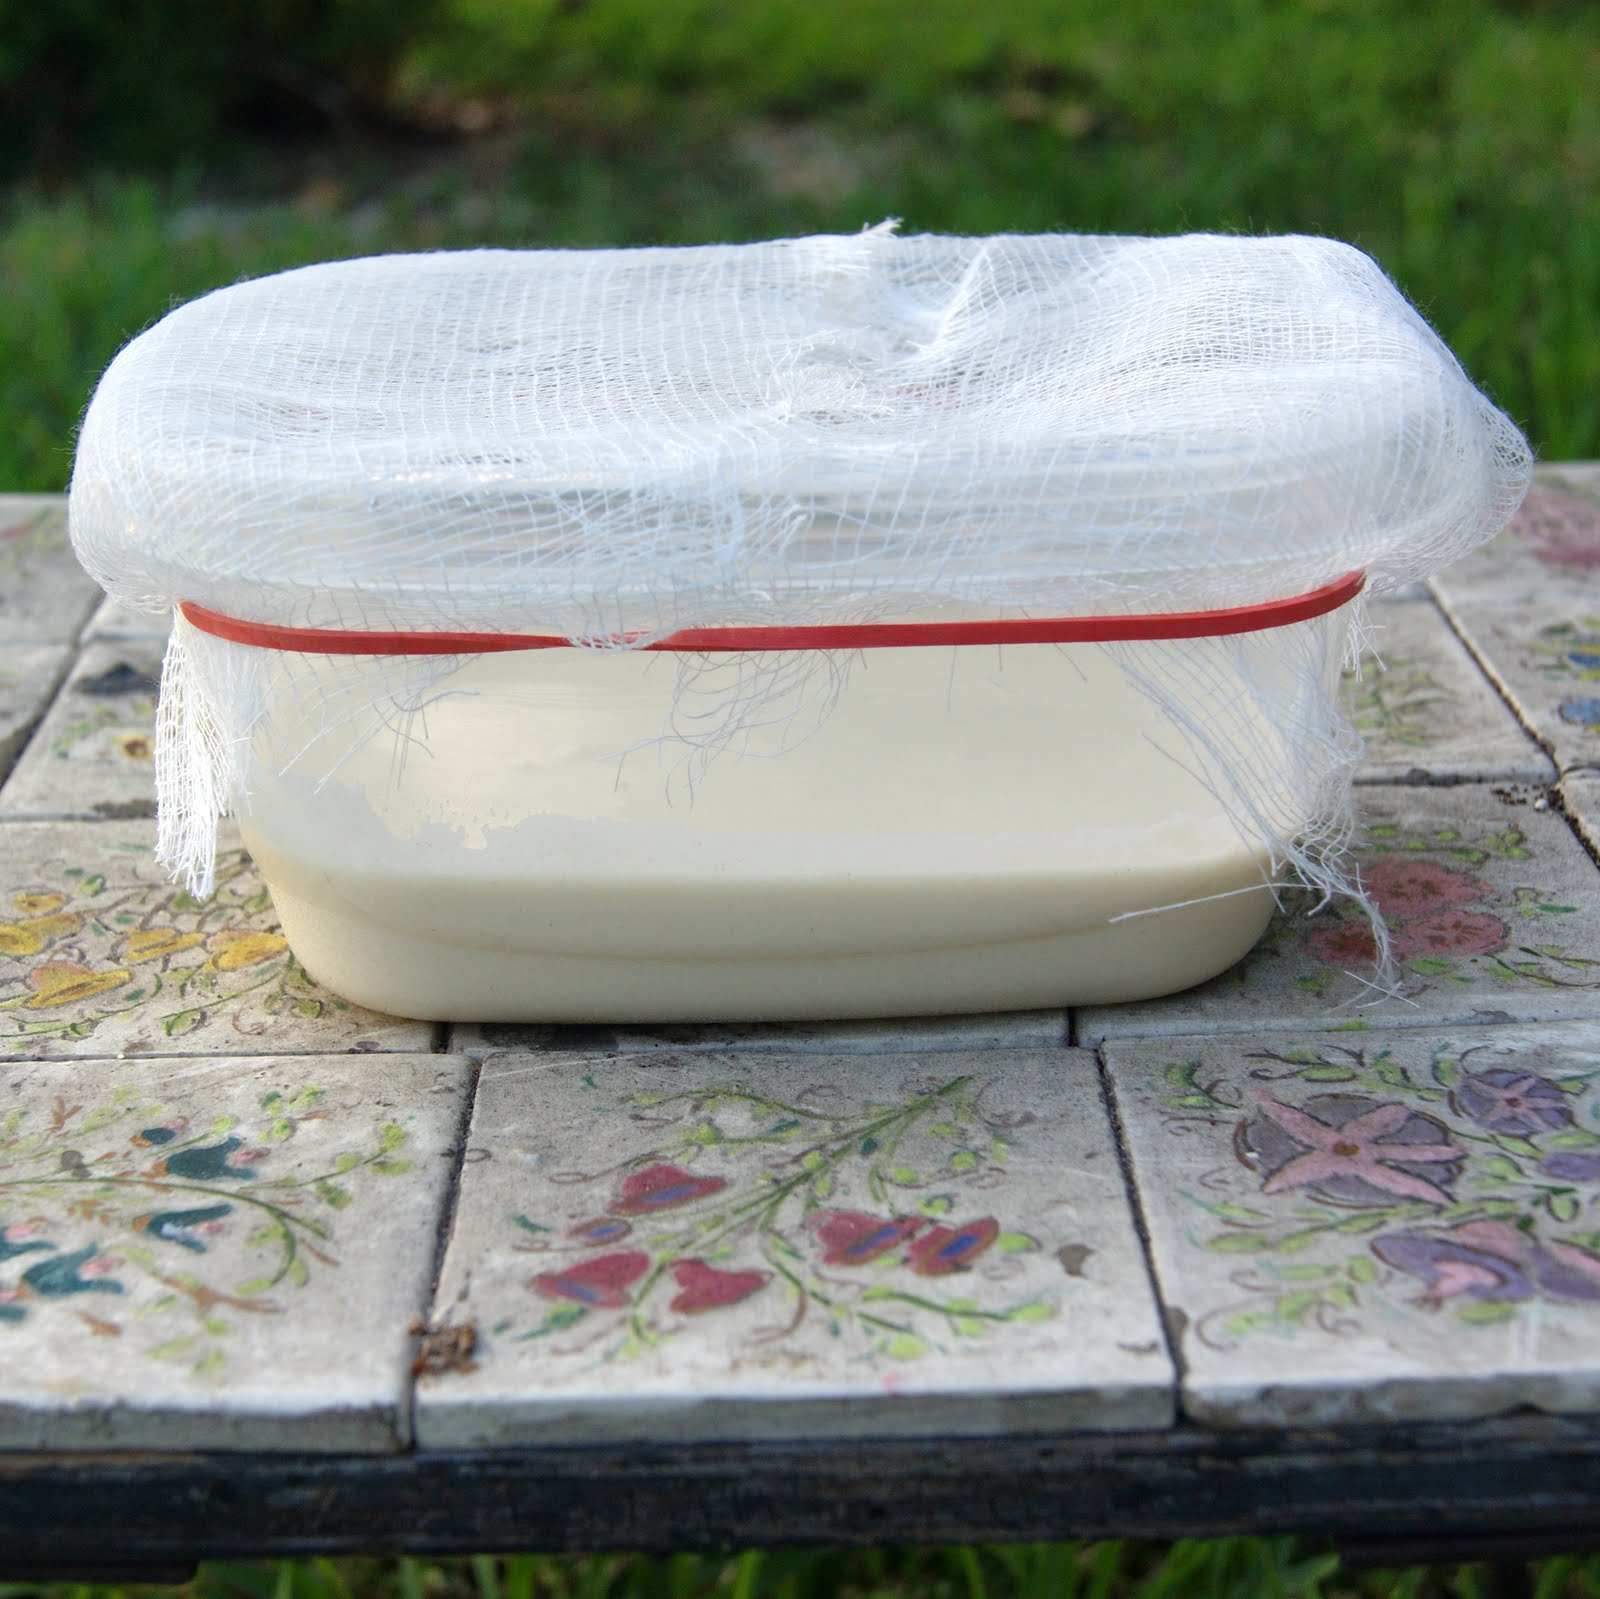
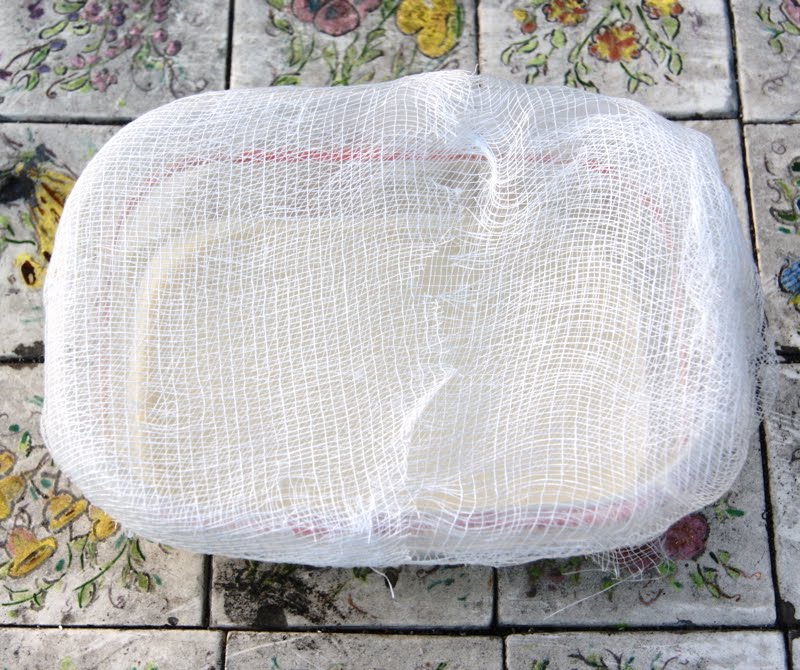
 Now, take it outside – your yard, patio, balcony, or even the windowsill by an open window – and leave it there for about an hour (I left mine for 90 minutes, but then, I’m an overachiever). If, like me, you’re afraid something might fall into it, cover it loosely with a layer of cheesecloth, or even the container lid, partially opened.
Look! Bubbles! Did I manage to catch some yeastie beasties? Well, it’s really too early to tell.
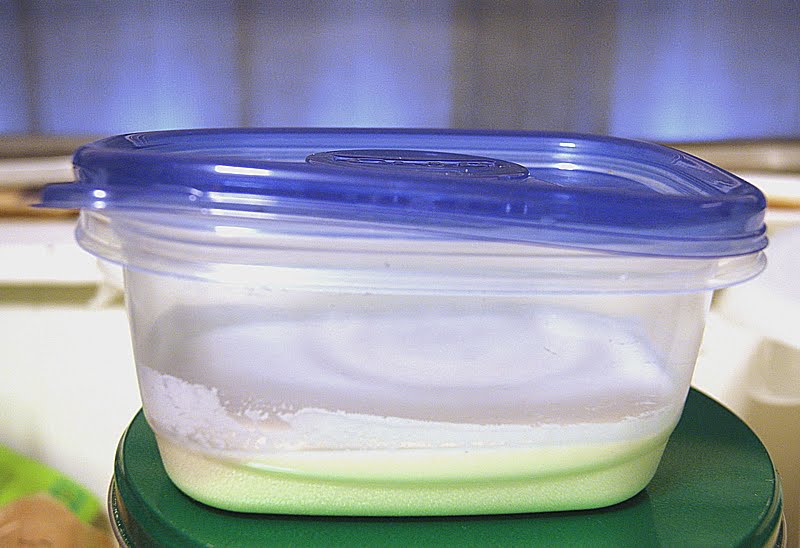
Now, bring the container inside and cover it loosely with its lid, leaving a bit of a gap for any gases to escape, and leave it in a warm place. My laundry room is the warmest room in the house, so that’s Yeastie’s new home. (That green color is just the reflection from the tin my container is sitting on, not some ghastly malfunction.)
In a few hours (before you go to bed tonight, or when you get up in the morning), stir it up thoroughly, even if there’s nothing to see. My information says that, in 12-24 hours, you might see some bubbleage and maybe a layer of clear or brownish liquid on top. That’s perfectly normal and you should stir it all back together again before giving your starter its next feeding.
I’m going to feed my starter about every 12 hours for the first week, mixing in 2 Tbs. of flour plus 2 Tbs. of warm water, so that’s what you should plan on, too.
So, will you keep me company? Please feel free to let me know and, of course!, ask questions in the Comments. I’ll answer you there, too and if you post your progress on your own blog, I’ll link to it. C’mon! Let’s play!


I'm doing it! I've *always* wanted to try this, Renee. Seriously, for like, forever. I may have to start in the morning, though-it's super windy outside. I almost got blown over picking some tomatoes in the garden!
Yay, Elle! I've always wanted to try it, too, and there's no time like the present! Let me know when you start. 🙂
Fun! One question though–KAF indicates you should not use tap water becaue chlorine can kill the yeast. Thoughts?
I make my own starter from scratch too, although I haven't tried it without yeast yet. Sounds delicious!
Hi, Mom24! There's a certain logic to what you say about chlorinated water, however, I've been baking bread for many years using tap water, and have never had a problem. In the majority of info I've run across, the people reporting this "rule" have never actually had it happen to them – they're merely repeating what they've heard or read. Kind of a vicious circle, really. If your community chlorinates its water with chloramine (kind of a super-chlorine), then it's possible to have problems with your starter, and that would probably show up in your other bread baking, as well. I would use the rule of thumb of: If your water smells good, looks good, and tastes good, then it's probably just fine. I guess we'll find out! :-)Will you try it along with me, Tracy? This will go quite a bit slower than a starter made with bakers' yeast, but it should have all the character of your home. 🙂
I mixed up the flour and water, with a bit of lemon juice. I used distilled water, just because I had some and it would avoid the extra chemicals, especially the chlorine. I use tap water with my other starters, but figured that with a new batch it might help. I covered the bowl with a coarse sieve I had, and put it outside. We will see.
Thanks for joining us, Guff! The only comment I would add, is that all the resources I consulted don't recommend distilled water, because it's had all the beneficial minerals removed, along with the chlorine, etc. Now, for all I know, that could fall under the same category as the "don't use tap water" rule – just repeating it, but no personal experience. Of course, they never say what all those "beneficial minerals" are, either. This could be another interesting permutation to our experiment! Please keep us advised.
Finally (its Spring now!) I have made my starter! Day one today, fingers crossed!