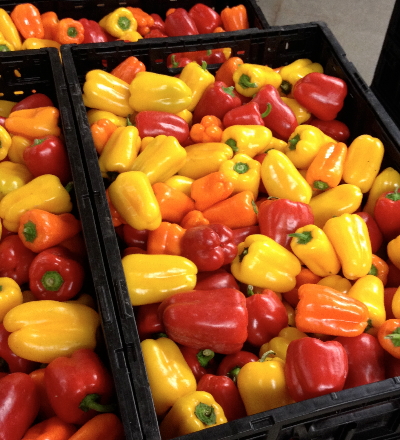
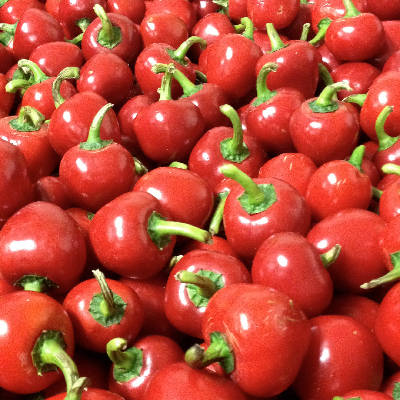
Sweet bell peppers in all sorts of jewel-like colors from green to yellow to orange to red to chocolate and purple. Fiery jalapeños and serranos, fruity and spicy Hatch chiles and banana peppers, mild Cubanelles, and everything in between, above and below on the Scoville Scale. They’re calling your name.

 You picked a peck of peppers at the farmers market over the weekend, didn’t you? Or maybe you went a little overboard at the U-Pick, or maybe your own garden is especially abundant. It’s okay. Admitting that you have a problem is the first step. And the immediate problem is how to save them all for future use. Aside from pickling and canning them (and we’ll cover that in a future post), the easiest and best way to preserve your pile o’ peppers is to roast and freeze them.
You don’t have to live in New Mexico or own a ton of special equipment. A pair of long, metal-tipped tongs (don’t use the ones with plastic or silicone tips – they’ll melt), an old metal cake rack, and the top of your stove (if you have a gas range), will do. Or your barbecue grill. Or your oven. Plus a bowl or storage container with a lid. And just a very few minutes of your time. We’re going to need some roasted peppers for several things, this week, so let’s get started!
Start by washing and drying your peppers.
Gas Range/Cooktop:
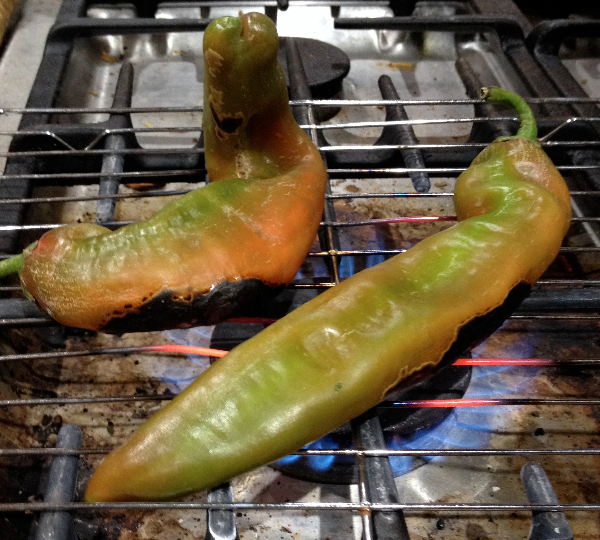
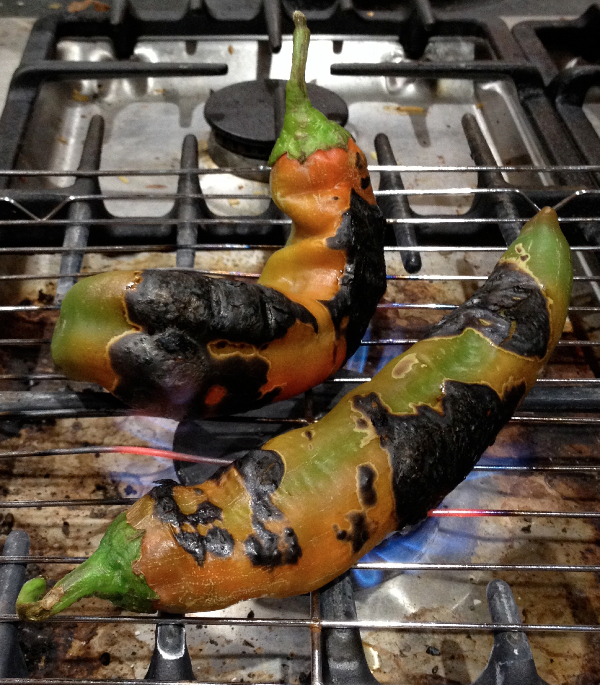
Place an old metal cake rack (bent-up is okay, rusted is not) on top of the largest gas burner. Turn the burner up to High and use the long metal tongs to place your peppers on top of the rack, so the peppers are over the flames. As the peppers’ skins begin to blacken and blister, turn them with the tongs to roast all sides.
When the peppers are almost completely blackened and blistered, remove them from the rack and place into a bowl or heat-safe container and cover immediately. Repeat with the next batch of peppers, and so on.
When all the peppers have been roasted, allow them to cool in the covered container(s) for a minimum of 10 minutes. The steam generated from the hot, roasted peppers will loosen their blistered skins and make later peeling easier. *Some people will say to put the hot, roasted peppers in a plastic bag to cool. I don’t trust plastic bags for this purpose and prefer covered bowls or – even better – heat/freezer-safe storage containers. Just me?
Barbecue Grills:
Grills run a lot hotter than the burners on your stove, so if you have the ability, either use the lowest temperature setting or keep the peppers on a cooler area of the grill. The blackening/blistering process will also go a lot faster, so don’t walk off to answer the phone or play with the dog. Keep those tongs handy! Place the peppers in a covered container to cool, as above.
Oven Roasting:
Place the rack in your oven in the upper 1/3 position. Preheat the oven or even your toaster oven to 500ºF. Lay out the peppers in a single layer on a rack that’s been placed over a rimmed cookie sheet. Roast in the oven for several minutes, until they begin blackening and blistering, as above, turning with the tongs as necessary. If using the broiler, place the peppers on a broiler pan and proceed. Again, place the roasted peppers in a covered container as above.
~~~~~~~~~~~~~~~~~~~~~~~~~~~~~
If you want to use the peppers right away, wait until they’re completely cool and peel under a gentle stream of cool, running water in the sink. The now-loosened skins and most of the blackened parts will slip right off. Blot with a kitchen towel or paper towel to dry them off a bit, and proceed with your recipe. Do I need to remind you that it would be a really good idea to put on some gloves, before handling hot peppers?
If you want to freeze the peppers for later use, just lay them in a freezer-safe storage container or freezer storage bag, and put them in the freezer without peeling. Initially, the peppers will stick together in a clump. Don’t be alarmed! After several hours in the freezer, remove the clump o’ peppers from the container and pull them apart. They will separate again. Really. Put the separated peppers back into the container or bag, then back in the freezer. They should last about 6 months.
To use the frozen peppers, just take out whatever amount you need, and as above, run them individually under a gentle stream of cool, running water in the sink, peel, blot, and use.
Whether you need some sweet bell pepper for pastas, soups, and sauces, or spicy hatch or jalapeño peppers for salsas or other fun uses, if you roast and freeze at the peak of growing season, you’ll always have that special ingredient at your fingertips.
Now, we’re ready to get cooking! We’ll be using our roasted peppers for a couple of delicious and fun dishes and treats, this week, so be sure to stop by!


I love what you have posted here Renee… great info for all those peppers from the garden! <3
Thanks, Sherri Jo!
I just went to the Yellow and Green Market in Hollywood. Guess what I bought? Now I don’t have to wing it when I roast and freeze them. Thanks so much, Renee!!!
I’m glad the information is helpful to you, Debbie. 🙂
This is a great post…thanks for sharing
Thanks, Theresa!
Love the idea of not peeling the peppers and freezing them. That is our genius!
xox
You know, it’s not that the information’s not out there, but for me it’s all about the little twists and tricks they don’t tell you. 🙂 Thanks, Gabi!
Ugh pure genius not our genius- it’s your genius. Must learn to review before posting. 🙂
I love you, Gabi. 😀
This came at the perfect time for me!!! We have a ton of peppers right now, I can’t wait to get to roasting!
Timing is everything, right? 😀 Glad this is helpful to you – wait till you see what’s coming later this week!
This is a great tutorial… takes the mystery out of it, so that anyone can do it! Love the tips on storage for the long term as well!
Thanks, Patsy! I appreciate that. 🙂